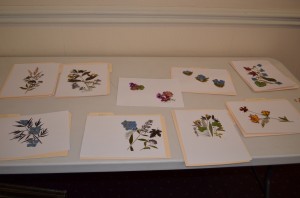
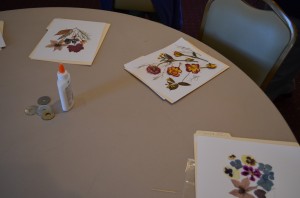
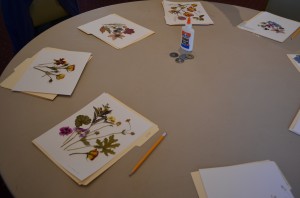
One of the workshops I offer to Garden Clubs is a primer in pressing flowers from the garden and making them into cards. It is lots of fun and easy for even those who feel “craft challenged”. At the workshop I bring all the floral material , so they don’t have to press their own flowers YET…but I hope they will after I give my stellar directions for fool proof pressing.
A.) Make sure you pick flowers/leaves in the afternoon, and on a dry day. For some methods of pressing, moisture is enemy #1
B.) pick whatever you like the looks of, you have nothing to loose trying to press something no matter how chubby it looks (boy, if that only worked with humans I’d be golden!)
C.) If you are using heavy books (encyclopedias etc to press which is old fashioned but effective all the same), get some newspaper, tissue paper or looseleaf paper and place the bloom or leaf carefully on a piece , and gently flatten it before covering it with another sheet of paper. If I press this way I always go back a day or two later and check to see if it seems wettish. If it does, I take it out and let it sit on the counter overnight to dry a little, then put it back in the book between fresh sheets of paper.
D.) the flower presses they sell made of corrugated cardboard work on the same principle and are usually pretty decorative to boot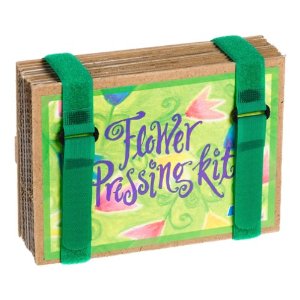
E.) When pressing lots and lots of floral material,which I do at high bloom time here in The Burrow( June through August), I have large presses made of plywood cut into 2 foot squares that I fill with layers of flowers and paper like above but stack up to 5 or 6 sheets of plywood high. I wrap ratcheting bungee cords around them and draw them tight, and will continue to tighten them as the flowers dry and shrink.
F.) for fast pressing, and also when I am pressing something large like a mophead hyrangea or rose, I use the microwave.For my microwave press I use pieces of ceramic tile (from home improvement store) , 100% wool fabric (which readily releases moisture) and paper.
These tiles are 12 x12 ,but you can use smaller ones
Layer 1 tile, 1 piece of wool cut to fit tile,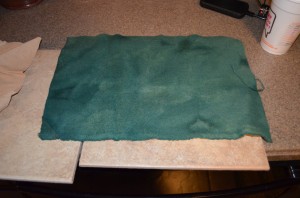
then a sheet of paper, then the flowers , another sheet of paper, another piece of wool ….coffee optional ;0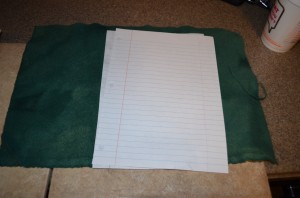
and finally the 2nd tile.
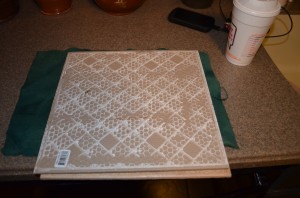 Place the whole thing in the microwave and Microwave on High Power for 1 minute for leaves or delicate flowers (the object is to NOT cook them), and for larger things, like roses, I cook for 1 miute then flip them over then cook 1 more minute. When you take them out of the microwave to flip them you can see all the moisture that has escaped the flowers went through the paper and wool and had condensed on the tile. Just wipe it dry before you put it back in.
If the tiles are too large to rotate in your microwave without banging the door look for a button that says “turntable off” on the front of your microwave and push it, or you can use smaller tiles, or if all else fails listen to the banging 😉
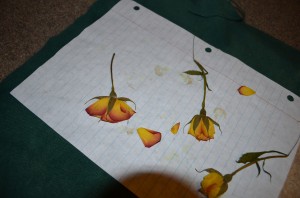
These are roses I bought at the market last night and pressed in the microwave . Aren’t they pretty?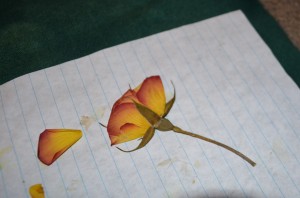
Once all the flowers are dried, pressed and ready, I use them too make arrangements on card stock using elmers glue to hold them in place. After the glue is dry, I scan the image onto my computer as a jpg. file that I can use to design note cards .
If the arrangement came out really nice and I want to frame it, a quick trip to the copy center for a high quality color copy is all it takes. Once matted and framed it is really hard to tell that you are looking at a print and not the actual flowers. Very cool.
Here are some photos of the artwork The Wellesley Home and Garden club made today. They are a super bunch of ladies who listened carefully when I put on my teacher hat and really came up with some gorgeous designs. This afternoon I will be scanning the arrangements to make into cards. 